OpenPro Install Instructions
OpenPro Installation Instructions
- Install Operating System - this has been assumed to be done. The rest of the manual is broken down into Windows and Unix. Unix uses the same install instructions for Intel Linux, SCO Unix, UNIX, AT&T, HP, IBM, Sun.
- Install the Web Server, either IIS for Windows or or Lamp with Apache version 2 for Unix or Windows.
- Install and Configure PHP version 5 or 7 series for the web server. If purchased object and not source this has instructions on IONCUBE installation.
- Database Server Installation - either MYSQL, MSSQL, ORACLE or IBM DB2.
- Install OpenPro programs.
- Register OpenPro programs.
- Test and Setup of OpenPro.
1. Install Operating System
The rest of the manual is broken down into Windows and Unix.
- Windows requirements 20XX servers.
- Unix uses the same install instructions for Intel
- Linux Redhat, SUSE, Mandrake, and others (SCO Unix, AT&T UNIX, Hewlett Packard HP-UX, IBM AIX, OS-400 or MVS)
Assumptions
- The operating system is installed, configured and setup to host pages.
- We are locating the OpenPro php source into a new folder openpro under your root html documents folders.
- Windows server web documents are located in the c:\inetpub\wwwroot folder. Where in the example we are putting OpenPro into c:\inetpub\wwwroot\openpro or if wamp put in the wamp\www folder.
- Linux and Unix servers web documents are located in the /opt/apache2/htdocs folder. Where in the example we are putting OpenPro into /opt/apache2/htdocs/openpro folder.
2. Web Server
IIS for windows Operating System installs as part of the operating system.
Windows requirements 20XX servers. For demo purposes we have instruction on how to install on a XP Professional work station.
Linux and Unix depending on the version will install the web server if not Unix Apache 2 installation instructions are located at the following location:
3. Installation of PHP and IONCUBE
WINDOWS PORTION
http://www.php.net/downloads.php is where php can be download and its load on the cd php folder. Php-version#-installer.exe
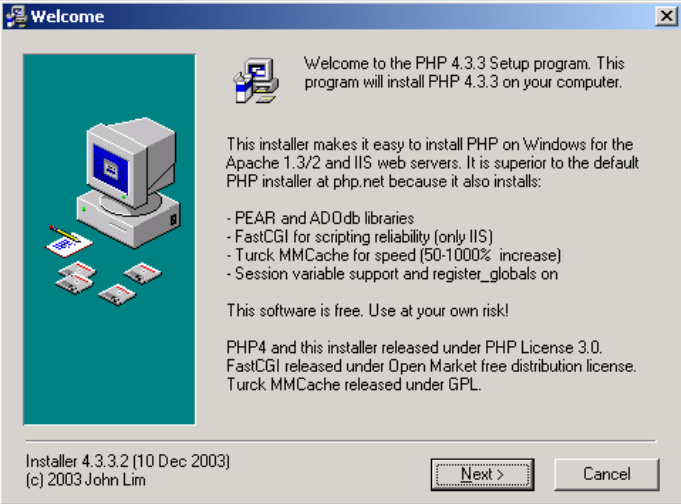
Begin installation double click on the installer exe. Note OpenPro runs versions php 5 and 7
Next
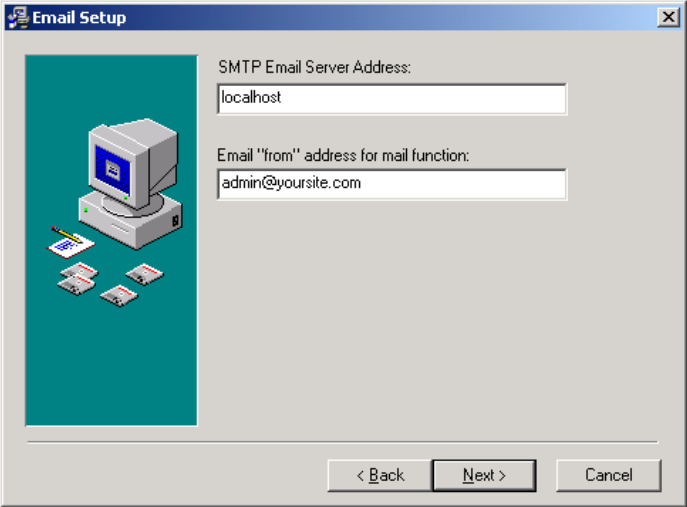
If your SMTP server is not local to the machine installing PHP, change it to your mail server. Set the E-Mail to any name (preferably admin), @, and the website or IP (not including WWW).
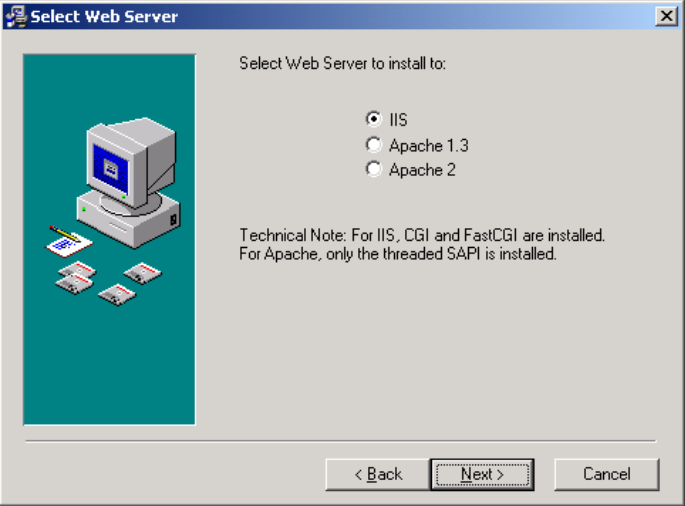
IIS - Next select your web server windows default is IIS.
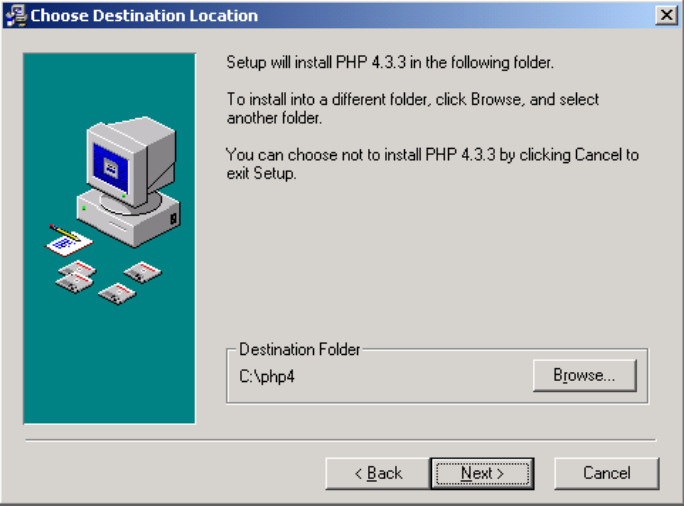
The install folder can be anywhere (C:\phpX is preferred).
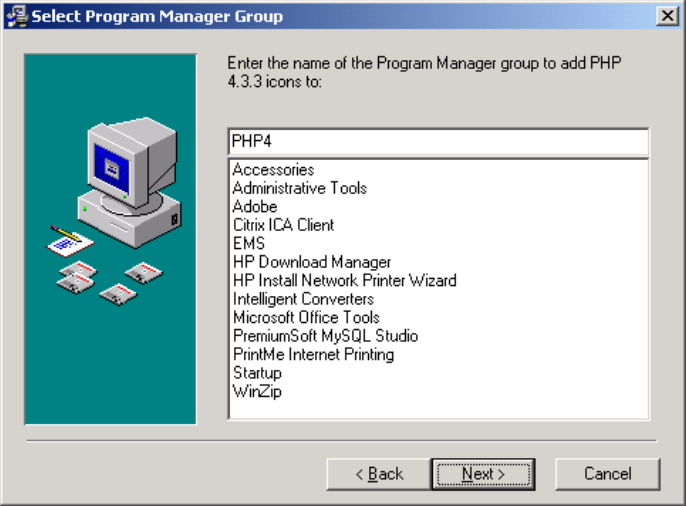
The Start Menu name can be anything.
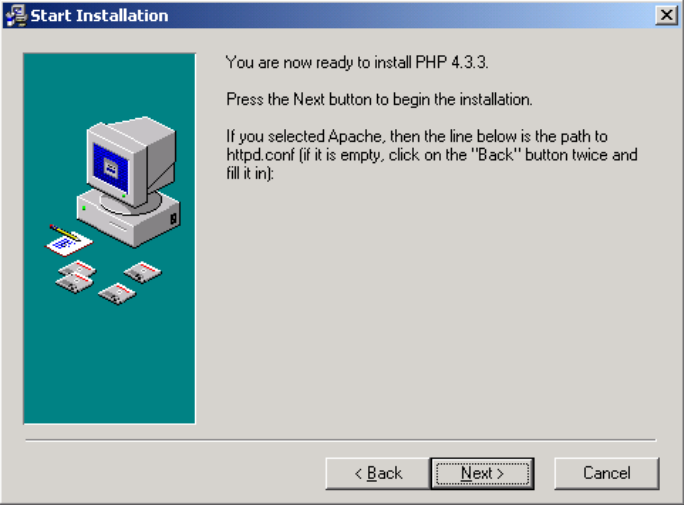
Next.
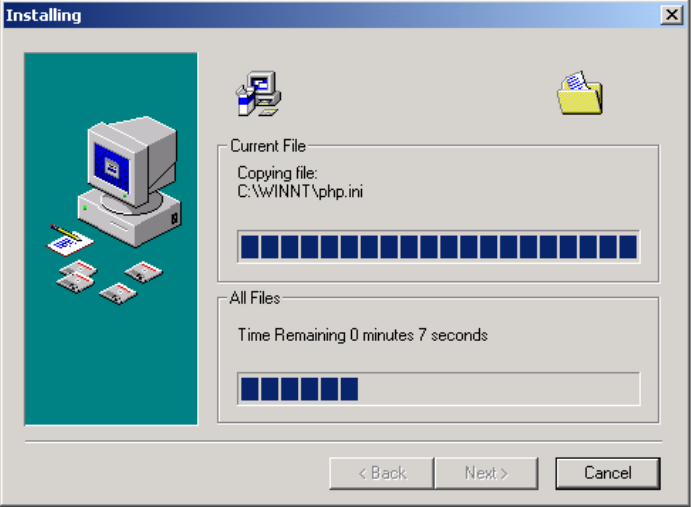
Installation
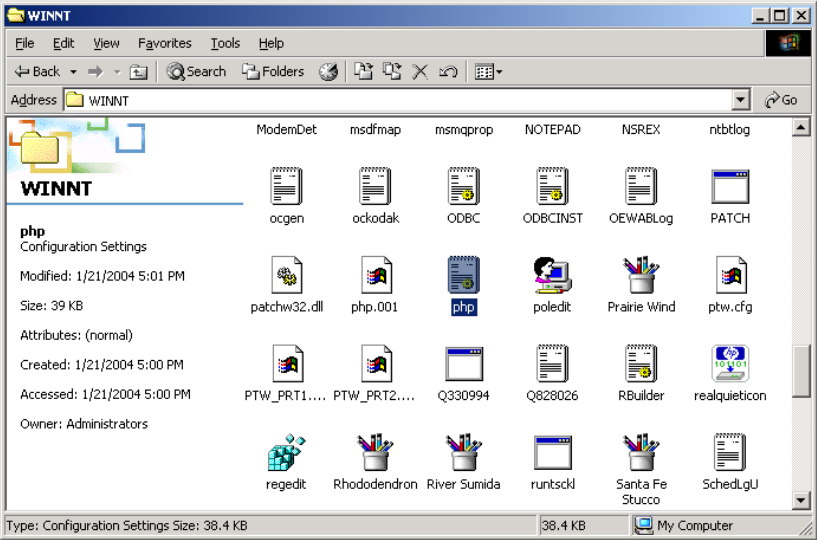
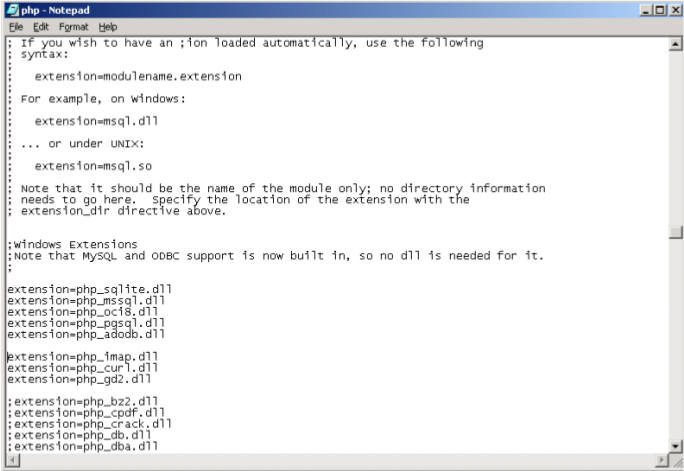
Go to the c:\Windows folder, find php.ini and edit it. Or on our cd we have a sample php.ini file you can use located in the php folder of the installation CD.
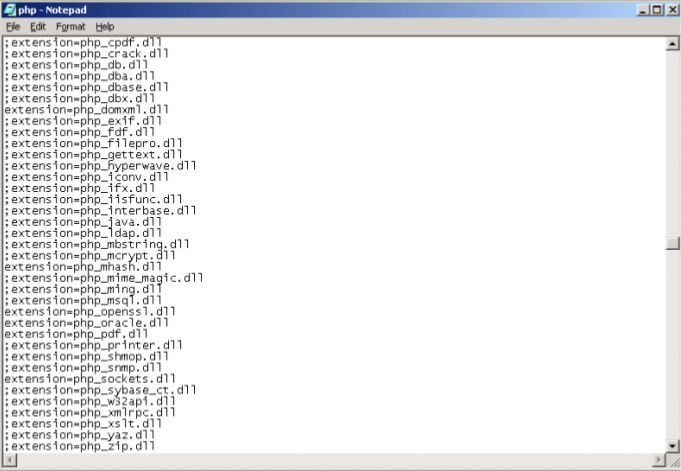
Find the extensions and remove any semicolons from:
php_sqlite.dll
php_mssql.dll
php_oci8.dll
php_pgsql.dll
php_adodb.dll
php_imap.dll
php_curl.dll
php_gd2.dll
php_domxml.dll
php_mhash.dll
php_openssl.dll
php_oracle.dll
php_pdf.dll and
php_sockets.dll
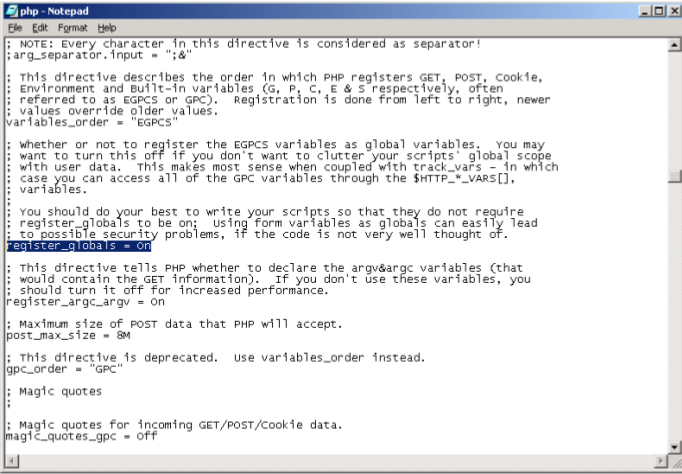
UNIVERSAL PHP.INI PORTION version 5 series
Ensure register_globals is set to On. Save.
LINUX/APACHE PORTION
- Change directory to the Apache folder / conf.
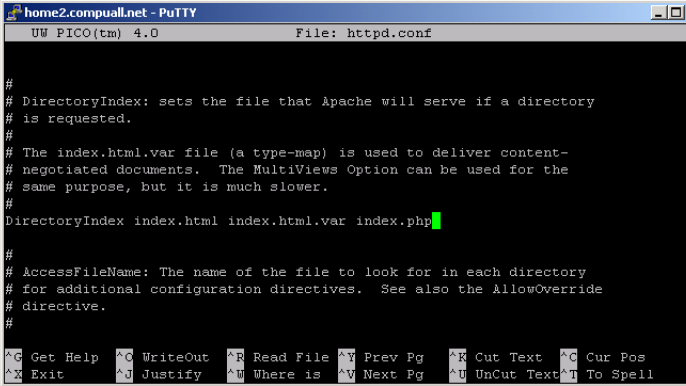
- Then run pico, vi, or an editor of preference on httpd.conf. Be sure you have write access to the file.
For php 7 series:
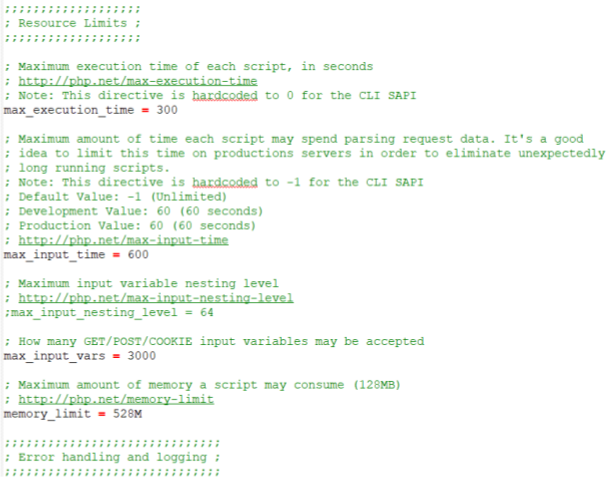
Other items based upon usage and number of users are
For older versions of apache Find the line that holds the DirectoryIndex options. Each index is separated by a space. Make sure that both index.html and index.php are listed, and index.html precedes index.php. Examples of httpd.conf are in the apache folder on the CD.
IONCUBE Installation
Download and run the free loader installation process.
System Requirements
Make sure your system meets the following requirements.
Operating System
Unix/Linux Operating System
Windows Users: Please take a look at the Windows IIS Setup document.
Secure Certificate
SSL (HTTPS) Recommended
Using a SSL or Secure Certificate will show your customers that ordering from your website is safe and secure.
PHP
PHP Version older systems > 4.1.x or 5.2.x but openpro uses version 5.3 to php 7
Most servers are already setup with the latest PHP version. To learn more, visit: http://www.php.net.
php.ini Settings
Every PHP install has a php.ini file. The php.ini file is the main configuration file for your PHP install. Remember to restart
your web server every time you update your php.ini file. There are two ways to verify that you have the following set in
your php.ini file. The first way is to locate the php.ini file on your server, open the file, and search on the following
variables. Change accordingly. The second way is to create a phpinfo() file on your web server and view it via any web
browser. The second method is for more advanced users. Make sure your php.ini file has the following variables set:
- register_globals = On This is needed for version 5 thru 5.5
- register_argc_argv = On
- open_basedir = no value
- short_open_tag = On
- safe_mode = Off
Zend vs. IonCube
Your ModernBill is available in two encoded versions, Zend and IonCube. The only difference between the two is that Zend must be installed on your server before you can use the Zend encoded version, whereas the IonCube version is pre-installed with your ModernBill system.
- To learn more about Zend OptimizerTM, visit the Zend website at http://www.zend.com.
- To learn more about IonCube Runtime Decoder (included), visit the IonCube website at: http://www.ioncube.com.
CURL is required for credit card processing online with ecommerce
cURL with SSL enabled either complied in PHP or available via the CLI (command line interface)
To learn more about cURL, please view the cURL Setup document.
4. Database Installation Process mysql
- Look at the detail install MYSQL, MSSQL, ORACLE or IBM DB2 located on the database CD.
- MySQL installation instructions are located at: http://dev.mysql.com/doc/
- Install the Mysql program located in the mysql folder under Linux and/or Windows.
- Our database is in backup format located on the CD under \openpro\database folder.
- After the installation you need to create the OPENDEMO database.
Step 1: Create a new database for your OpenPro ERP system
You can create your database by using a MySQL GUI such as PHPMyAdmin or you can use the command line as follows:
- Here is the MySQL command:
mysqladmin -u USERNAME -h localhost -p create DBNAME
- Replace the BOLD variables with your own variables. DBNAME should be OPENPRO
- More MySQL Command Line Help - Adding New Users to MySQL
Step 2: Restore the demo database from the OpenPro cd to your new created database
- Then in the OpenPro\mysql folder on the cd is opendemo.zip and openempty.zip
- Opendemo is our demo database with demo company and information loaded.
- Openempty is like opendemo but no customers, etc file are loaded.
Restore using mysql
If you have to re-build your database from scratch, you can easily restore the mysqldump file by using the mysql command. This method is usually used to recreate or rebuild the database from scratch.
Here's how you would restore your opendemo.sql file to the OpenPro database:
mysql -u openpro -p support openpro < openpdemo.sql
Easy isn't it? Here's the general format you would follow:
mysql -u [username] -p [password] [database_to_restore] < [backupfile]
Then after creating and restoring the database, you can then login to OpenPro system.
5. OpenPro Installation Process
- Extract the openproXX.zip file from the cd openpro folder, into the hpptd folder that you want to use for the lookup.
- We are locating the OpenPro php source into a new folder openpro under your root html documents folders of your web server.
- Windows server web documents are located in the c:\inetpub\wwwroot folder. Where in the example we are putting OpenPro into c:\inetpub\wwwroot\openpro
- Unix servers web documents are located in the /opt/apache2/htdocs folder. Where in the example we are putting OpenPro into /opt/apache2/htdocs/openpro folder.
- Other servers use /var/www/html so you need to know how your web server is setup and configured.
- Configure system with OpenPro.
- Edit sqlinfo.php file in the openpro folder:
<?
$sqlhost="localhost";
$sqluser="openprodbuser";
$sqlpass="openprodbpassword";
$sqldb="opendemo";
$sqltype="MySQL";
$default_company="DEMO";
$default_store="DEMO";
//$traceon = true ;
$display_sql_errors = 0;
$genbarcode_loc="/usr/bin/genbarcode";
$fax_folder = "./fax/";
$server_hostname="server.name";
?>
- Change the databaseuser and databasepassword to openpro and support of you are using our defaults.
sqltype = MySQL, MsSQL, DB2, ORACLE
depending on the purchase product.
Test connection to your database using SQL commands.
- Default company and store, can be used to display the company and store upon startup.
- Traceon=true is commented out, but if you are having system problem, it will be easier to find them because many errors will display on the screen when this is turned on.
- Display SQL Errors 0 is off and 1 is on. If you have it off the exact sql will not display on the screen, this is also used for debugging problems.
- Genbarcode location is the location for the bar code generator program
- Fax_folder – is the folder where you can setup hyla fax out to go to and openpro will review.
- Server host name is required for the chat sessions to work properly.
- E-commerce configuration files are In the ecommerce folder Openpro_main.inc.
<?php
//POS Folder
$posfolder="../";
$filefolder="../";
$store_id="DEMO";
$companyid="DEMO";
?>
This outlines the location of files for e-commerce system, the company id and the store id.
6. OpenPro Registration Installation Process
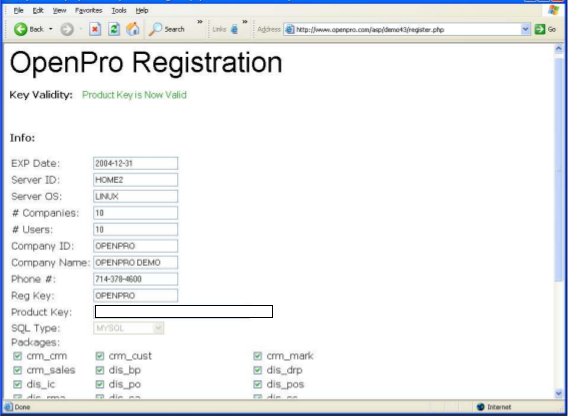
open up your explorer and run the program register.php under the openpro folder.
http://localhost/openpro/register.php
Fill out the form as per the attached sheet that came with the software. If everything was filled out correctly it will say Product Key is now Valid on the top of the form.
7. OpenPro Test and Setup Process
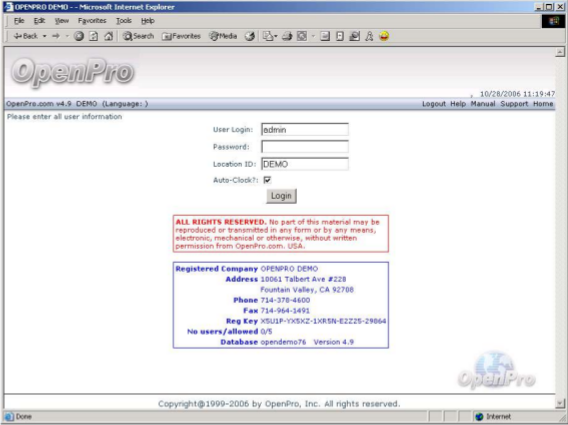
From your browser, go to: http://localhost/openpro/
It should take you to the following page. If any errors show up make a note of the error and send to supportop @openpro.com.
The demo system you can login as admin with the password of openpro and location of demo. Then go to rules setup and maintain the system rules. See detailed setup instructions in the setup manual.
